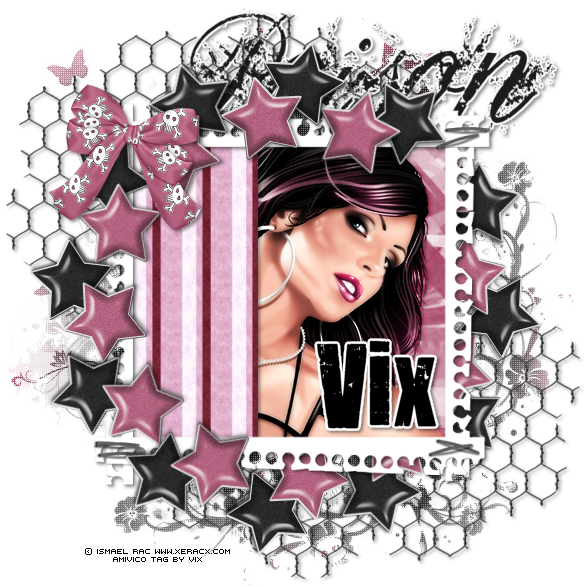
For this tag, you will need
Tube Close Up of Choice - I'm using a gorgeous tube by © Ismael Rac
which I purchased @ AMI
Scrapkit - FTU - Poison Rock Girl by Bel Viddoti
Available for download from her blog HERE
I've seen this one around so I know it's not "new" but
it's fairly new to me, and I think it's cool :)
Note: Bel's TOU very kindly state that she does not
require credit on tags, thank you for that xx
My Mask - Vix_Mask363
which you can get from my tutorial website on the Goodies page
Mura Meister Copies
Penta.com Colour Dot
Xero Graphics Greyscaler
Start with The Usual
then
Open the frame07
Image, Resize 80%
C&P
Place centrally in the tag canvas
Open Paper 15
C&P
Place under the frame layer
Open Paper05
Repeat as above
but
Move the paper over on the left side - see my tag
to get the idea of where you line it up
Add a Dropshadow to this paper
2, 2, 45.00, 5.00, Black
Then take Magic Wand
Click inside the frame and
do a Modify Expand 4 Selection Invert Delete
on both paper layers
Open the Close up (or just the face of a very large tube)
C&P
Move it under the striped paper layer
but above the other paper layer
within the frame
Duplicate the tube
On the top tube layer - Adjust, Blur, Gaussian Blur, 2.00
and on the bottom tube layer - Xero Greyscaler
on the default settings
Then back to the top layer
and change the Blend Mode to Overlay
Nifty, eh! lovely and moody effect -
It's like Minxy's method, but with a slight twist lol!!
Now
Selection Delete the tube excess outside the frames
like you did for the Papers.
Open Paper20
Resize as before
C&P
Move below the other layers to
just above the White Back
and Apply my mask - Vix_Mask363
Layers, Merge Group
then apply Penta.com Colour Dot
on
Value 100
Distance 2
Open the star03
Image, Resize 25%
C&P
Place centrally in the canvas
Bring to Top so you can see it
Repeat this with the star05
so this pink one will be above the black one
Now
Image
Mirror
the pink one only
and then move it down slightly over to the left
so the two stars should compliment each other
Apply a dropshadow to each star - I used 2, 2, 45, 5.00, Black again
then
merge the star layers together
and now
Effects, Mura Meister Copies
Encircle
and change the X and Y Sliders to 65
Apply
and then move into place to compliment the middle
section of the tag
then
Duplicate the stars layer
and move one right down the Layer
Palette to just above the Mask layer
Now take your Eraser and on the top one
Carefully erase from top right
down the edge
to just over from the staple bit of the frame on bottom right
See my tag for ref
Take care when erasing shadows etc
Now add the same shadow to the frame layer
Open one of the bows
Image, Resize 50%
C&P
Place as mine and shadow as before
Open the wire
Image, Resize, 70%
C&P
Move it over and line it up top left as I have
done so it's just touching the butterfly from the mask layer
Duplicate
Image
Mirror
Image
Flip
and move both these wire layers down
to just above the mask layer
and apply shadow as before
Open one of the wordarts
I used Poison
Image, Resize, 70%
C&P
Now, place on the tag under wire layers
lined up with the frame at the top
and apply the same shadow
Add your name in a font and style of your choice
Apply any artist info required
Crop the tag canvas
and
save as a transparent PNG (delete the White Back when ready)
That's it - hope you enjoy